DIY Home Painting Guide
DIY Home Painting Guide: Transform Your Space Like a Pro
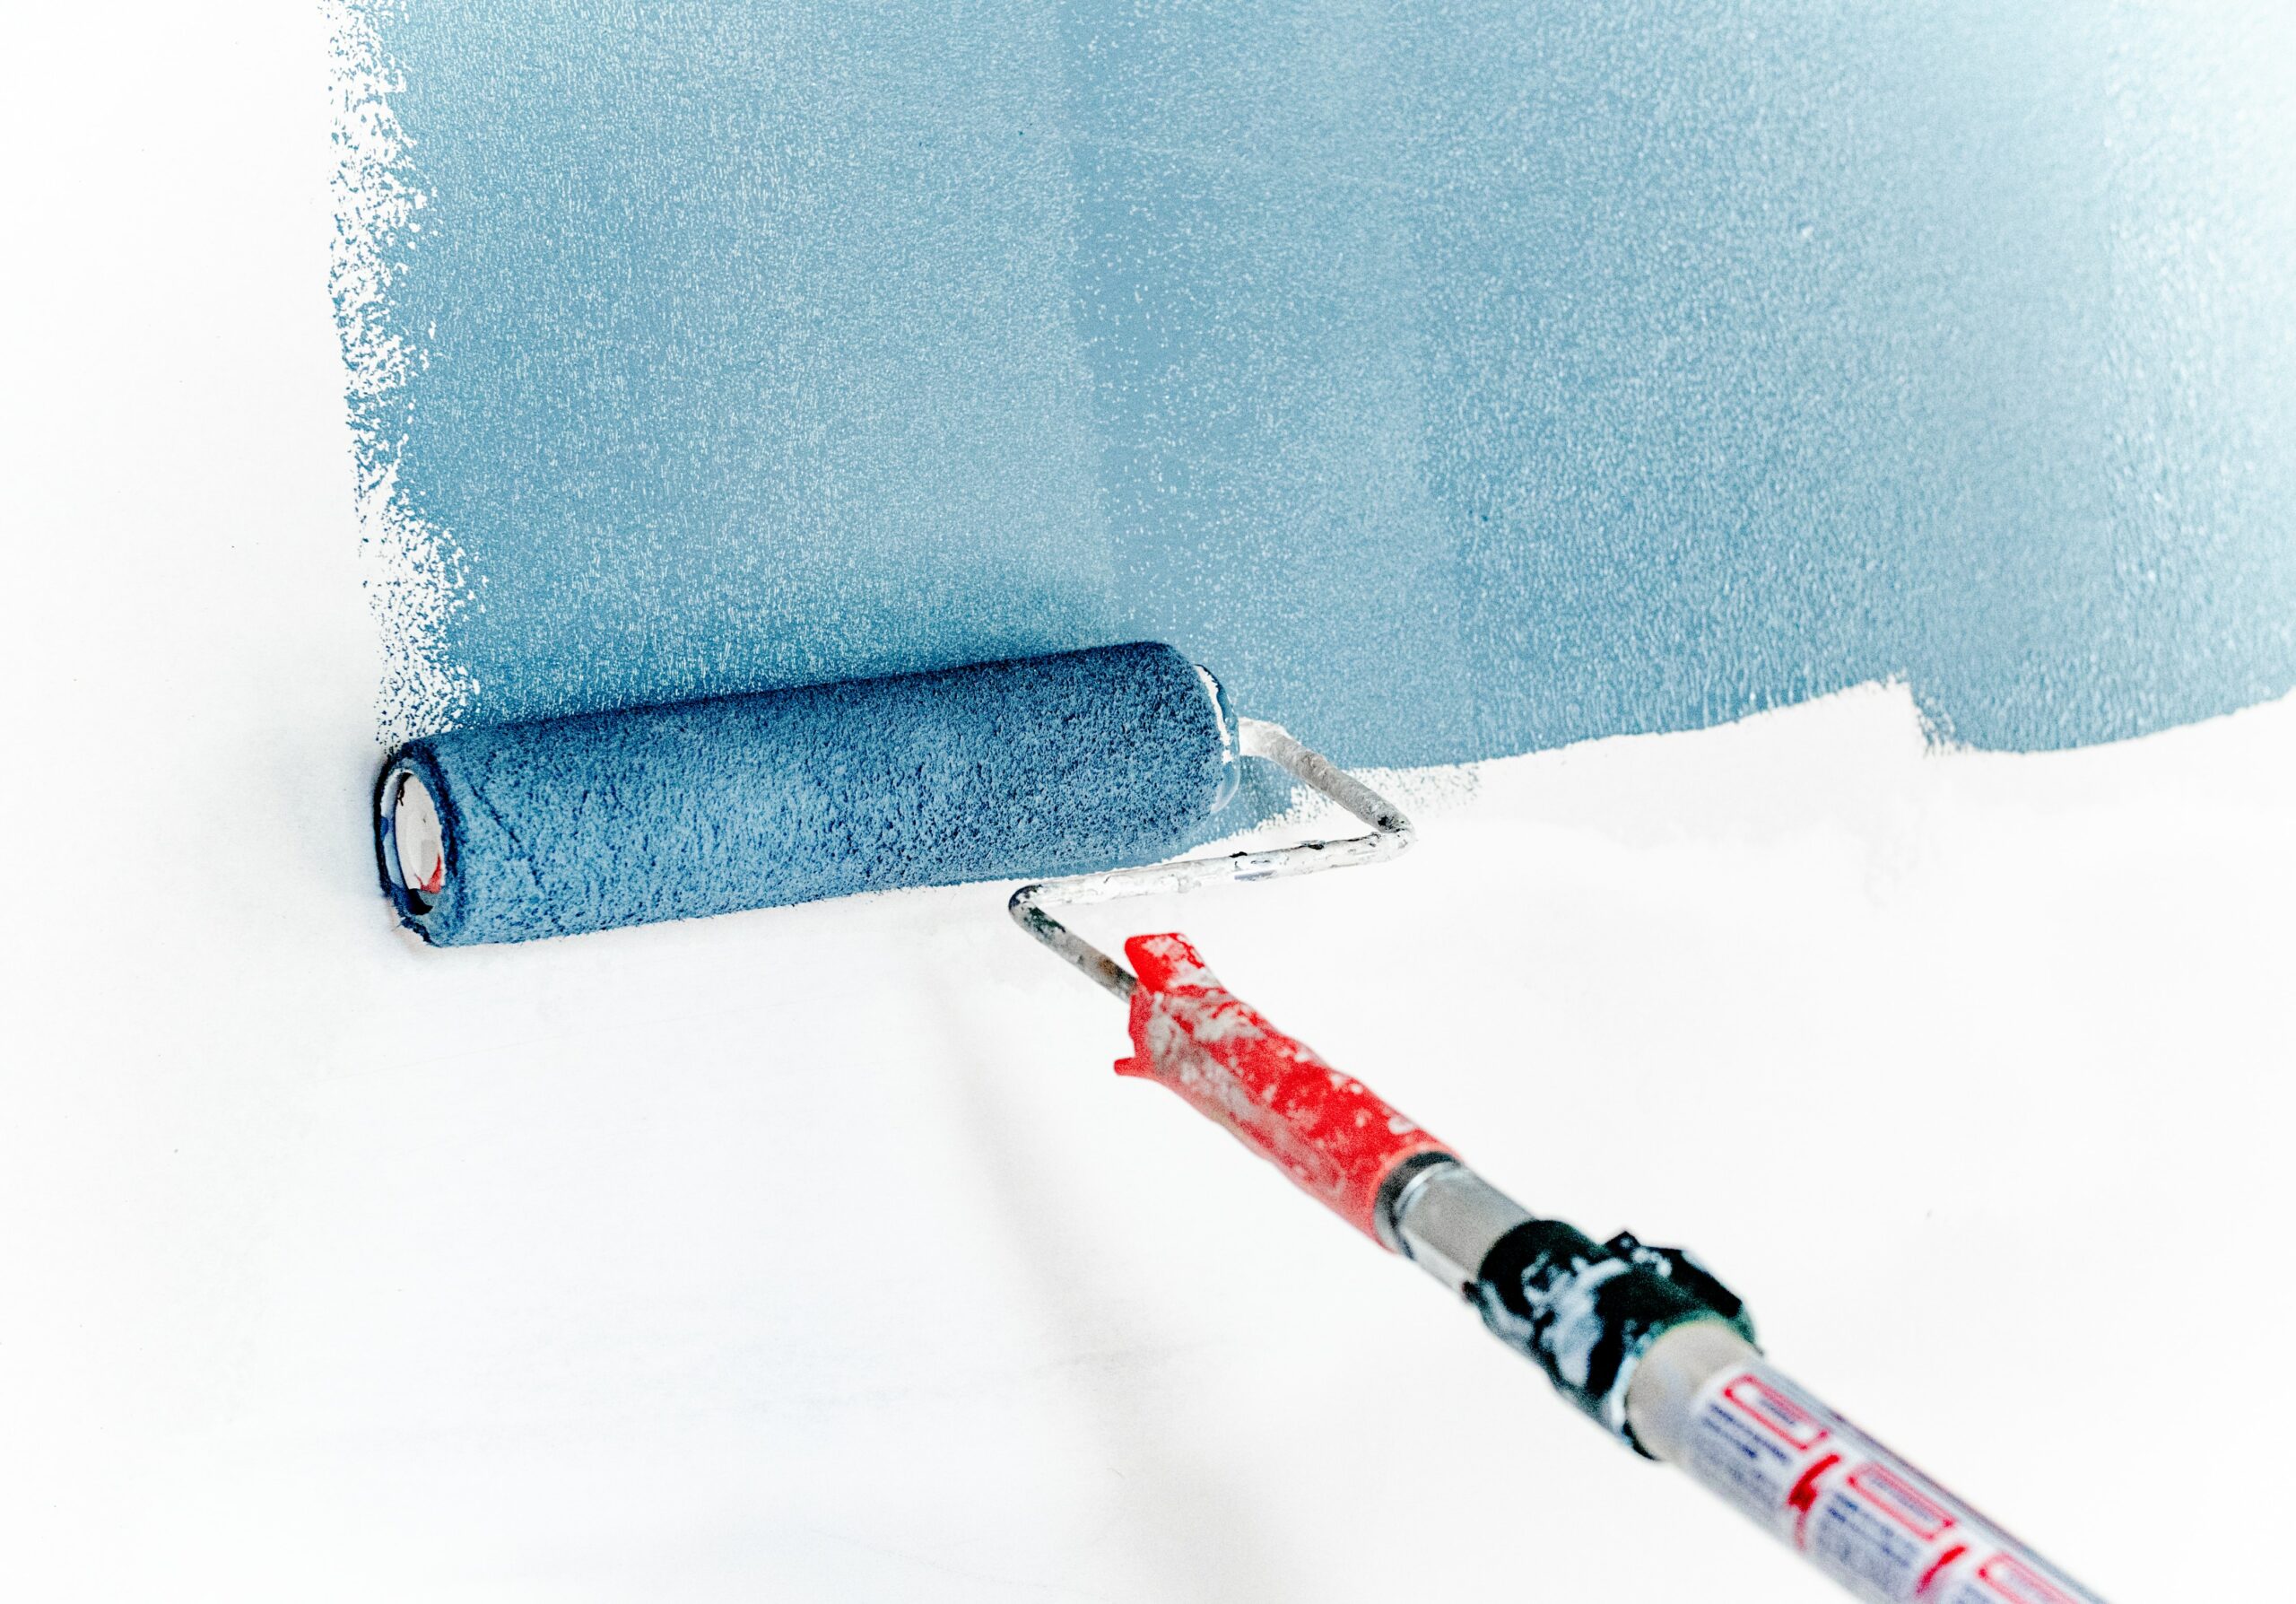
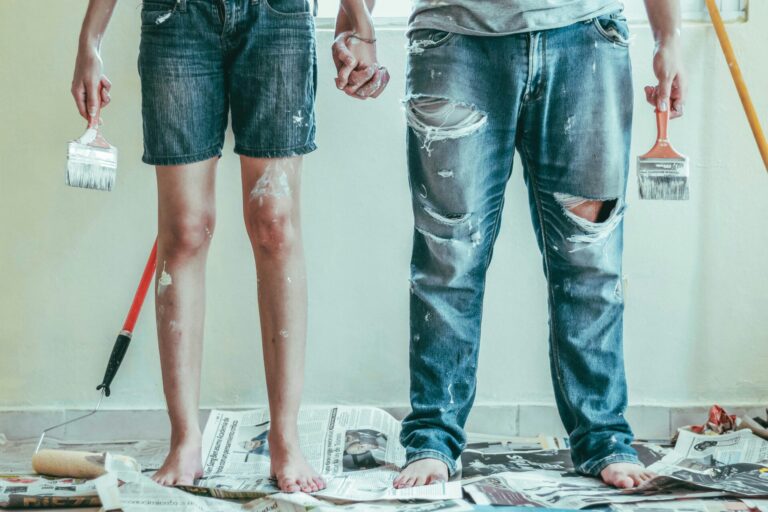
Revitalizing your home with a fresh coat of paint is one of the most impactful and budget-friendly ways to enhance its look and feel. Whether you’re tackling a single room or your entire house, achieving professional-quality results doesn’t require professional experience—just the right knowledge, tools, and preparation. This DIY home painting guide will walk you through each step of the process, ensuring your DIY painting project is not only successful but enjoyable.
Step 1: Setting the Stage for Success
Before you lift a brush, take time to evaluate your space, choose the right colors, and gather the necessary tools. A little planning upfront will save you time, money, and frustration later.
Choosing Your Room and Color
Start with a room that will have the most visual or emotional impact. If this is your first DIY painting project, select a smaller space, like a bathroom or home office, to practice your technique.
•Natural Light: A room with abundant natural light can handle darker, bolder colors, while dimly lit spaces benefit from lighter, reflective shades.
•Room Size: Lighter hues make small rooms feel larger, while deeper tones create intimacy in large spaces.
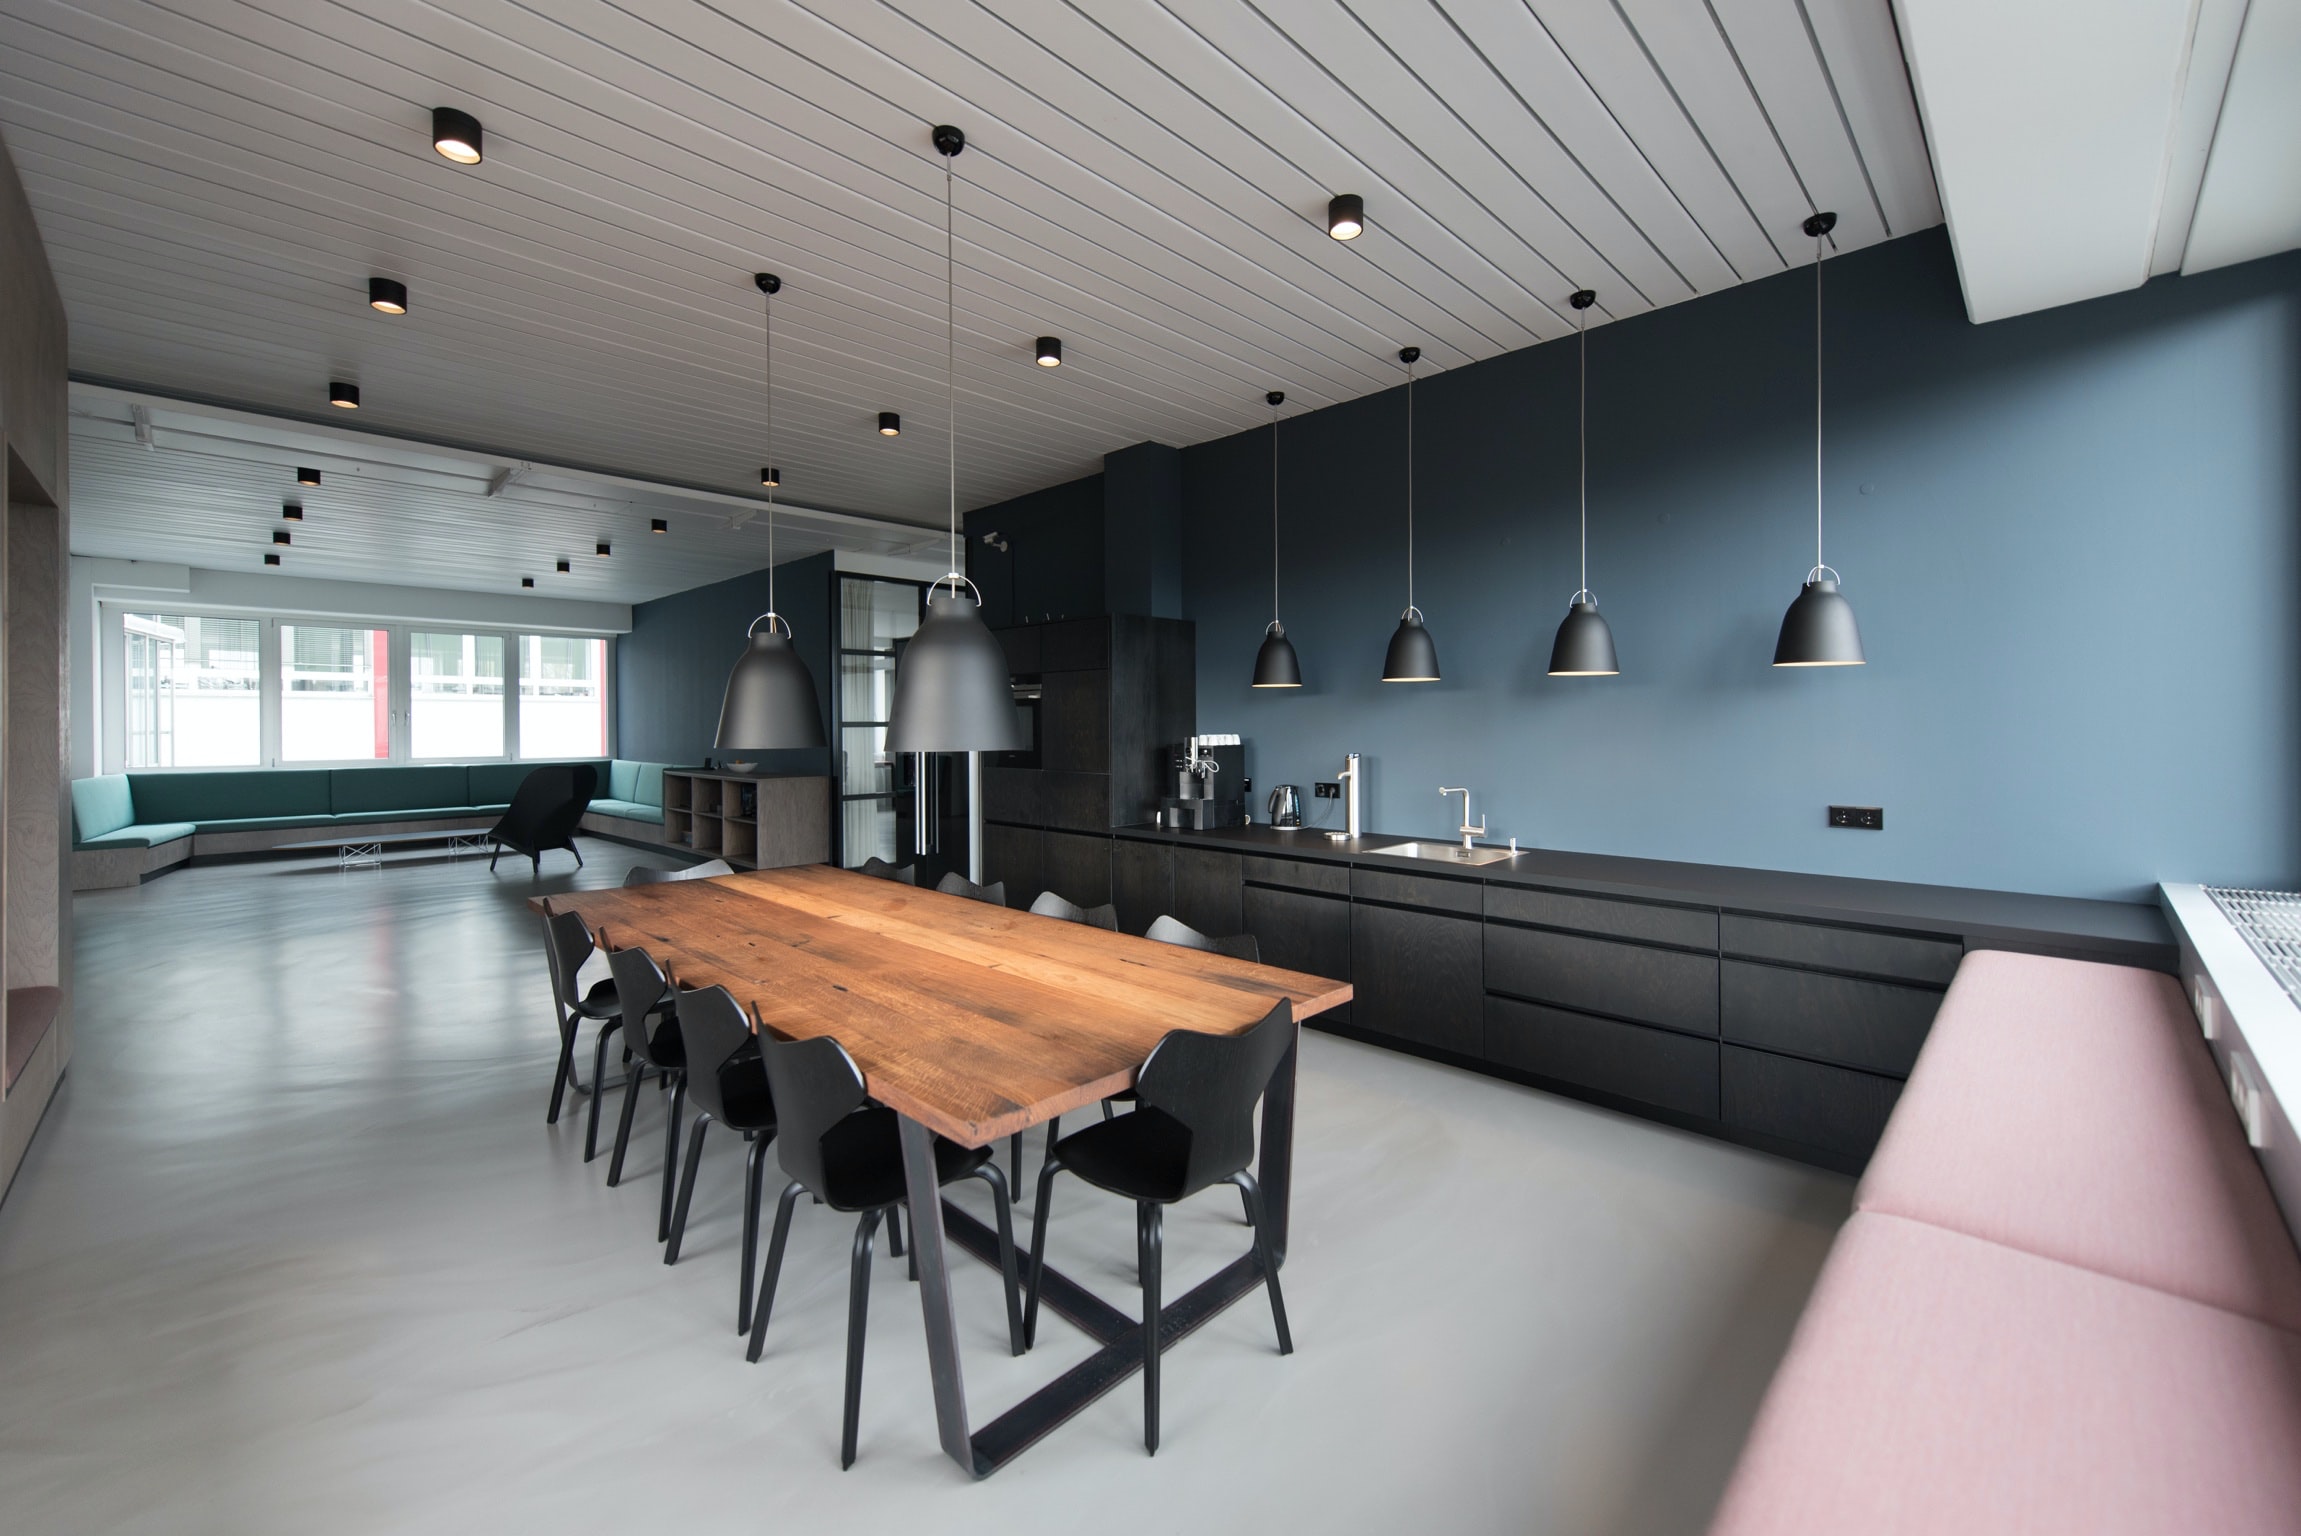
•Mood: Color can influence the mood of a room. Consider blues and greens for tranquility, yellows for warmth, and grays for versatility.
Color Testing Tips
-Use digital color visualization tools or apps to preview how shades will appear in your space before purchasing sample pots. Store lighting often distorts color perception, so it’s better to take color swatches home and evaluate them under your own lighting conditions before selecting sample pots.
•Once you’ve selected your sample pots, paint small swatches directly on your walls. Observe these swatches throughout the day to see how the colors change under different lighting conditions. This ensures you choose the perfect shade for your space.
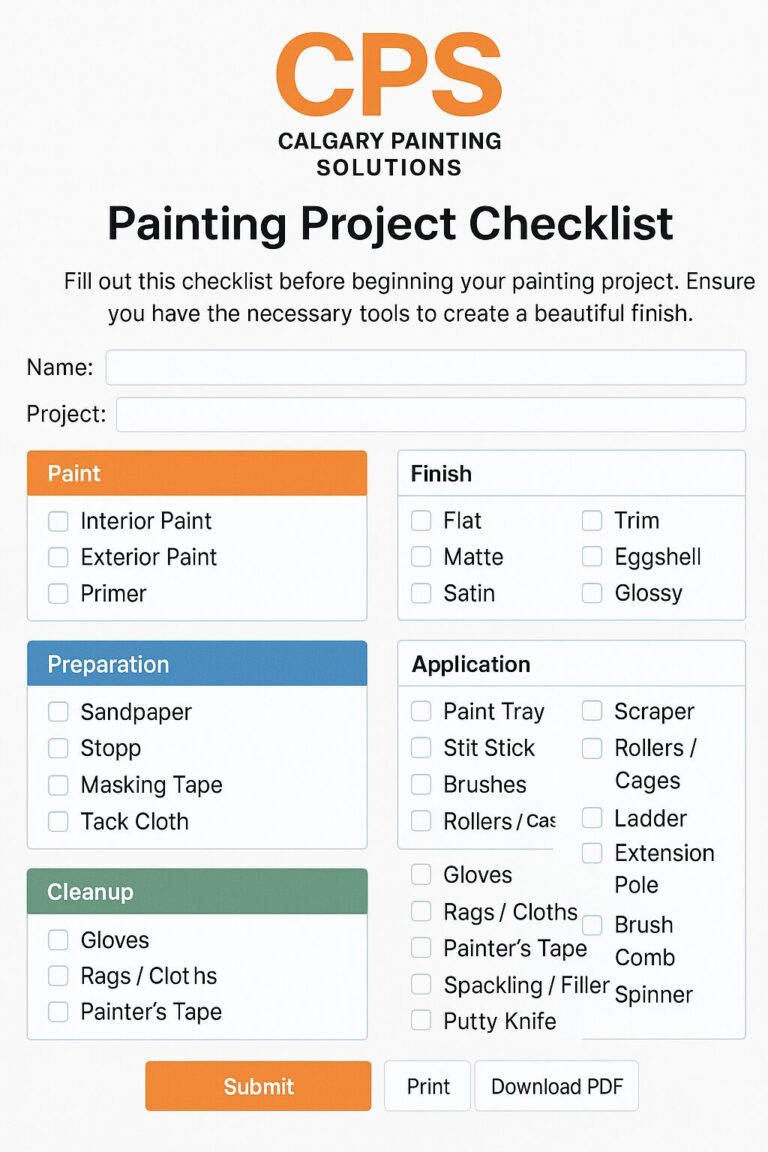
Essential Tools Checklist
Here’s a list of must-have tools for your painting project:
•Paint rollers (3/8” nap for smooth walls, 1/2” nap for textured walls)
•High-quality angled brushes (2” or 2½”) for cutting in edges
•Paint tray and liners
•Painter’s tape
•Drop cloths or plastic sheets
•Sandpaper and painter’s putty
•Extension pole for ceilings and high walls
•Step ladder
•Cleaning supplies (rags, TSP, soap and water)
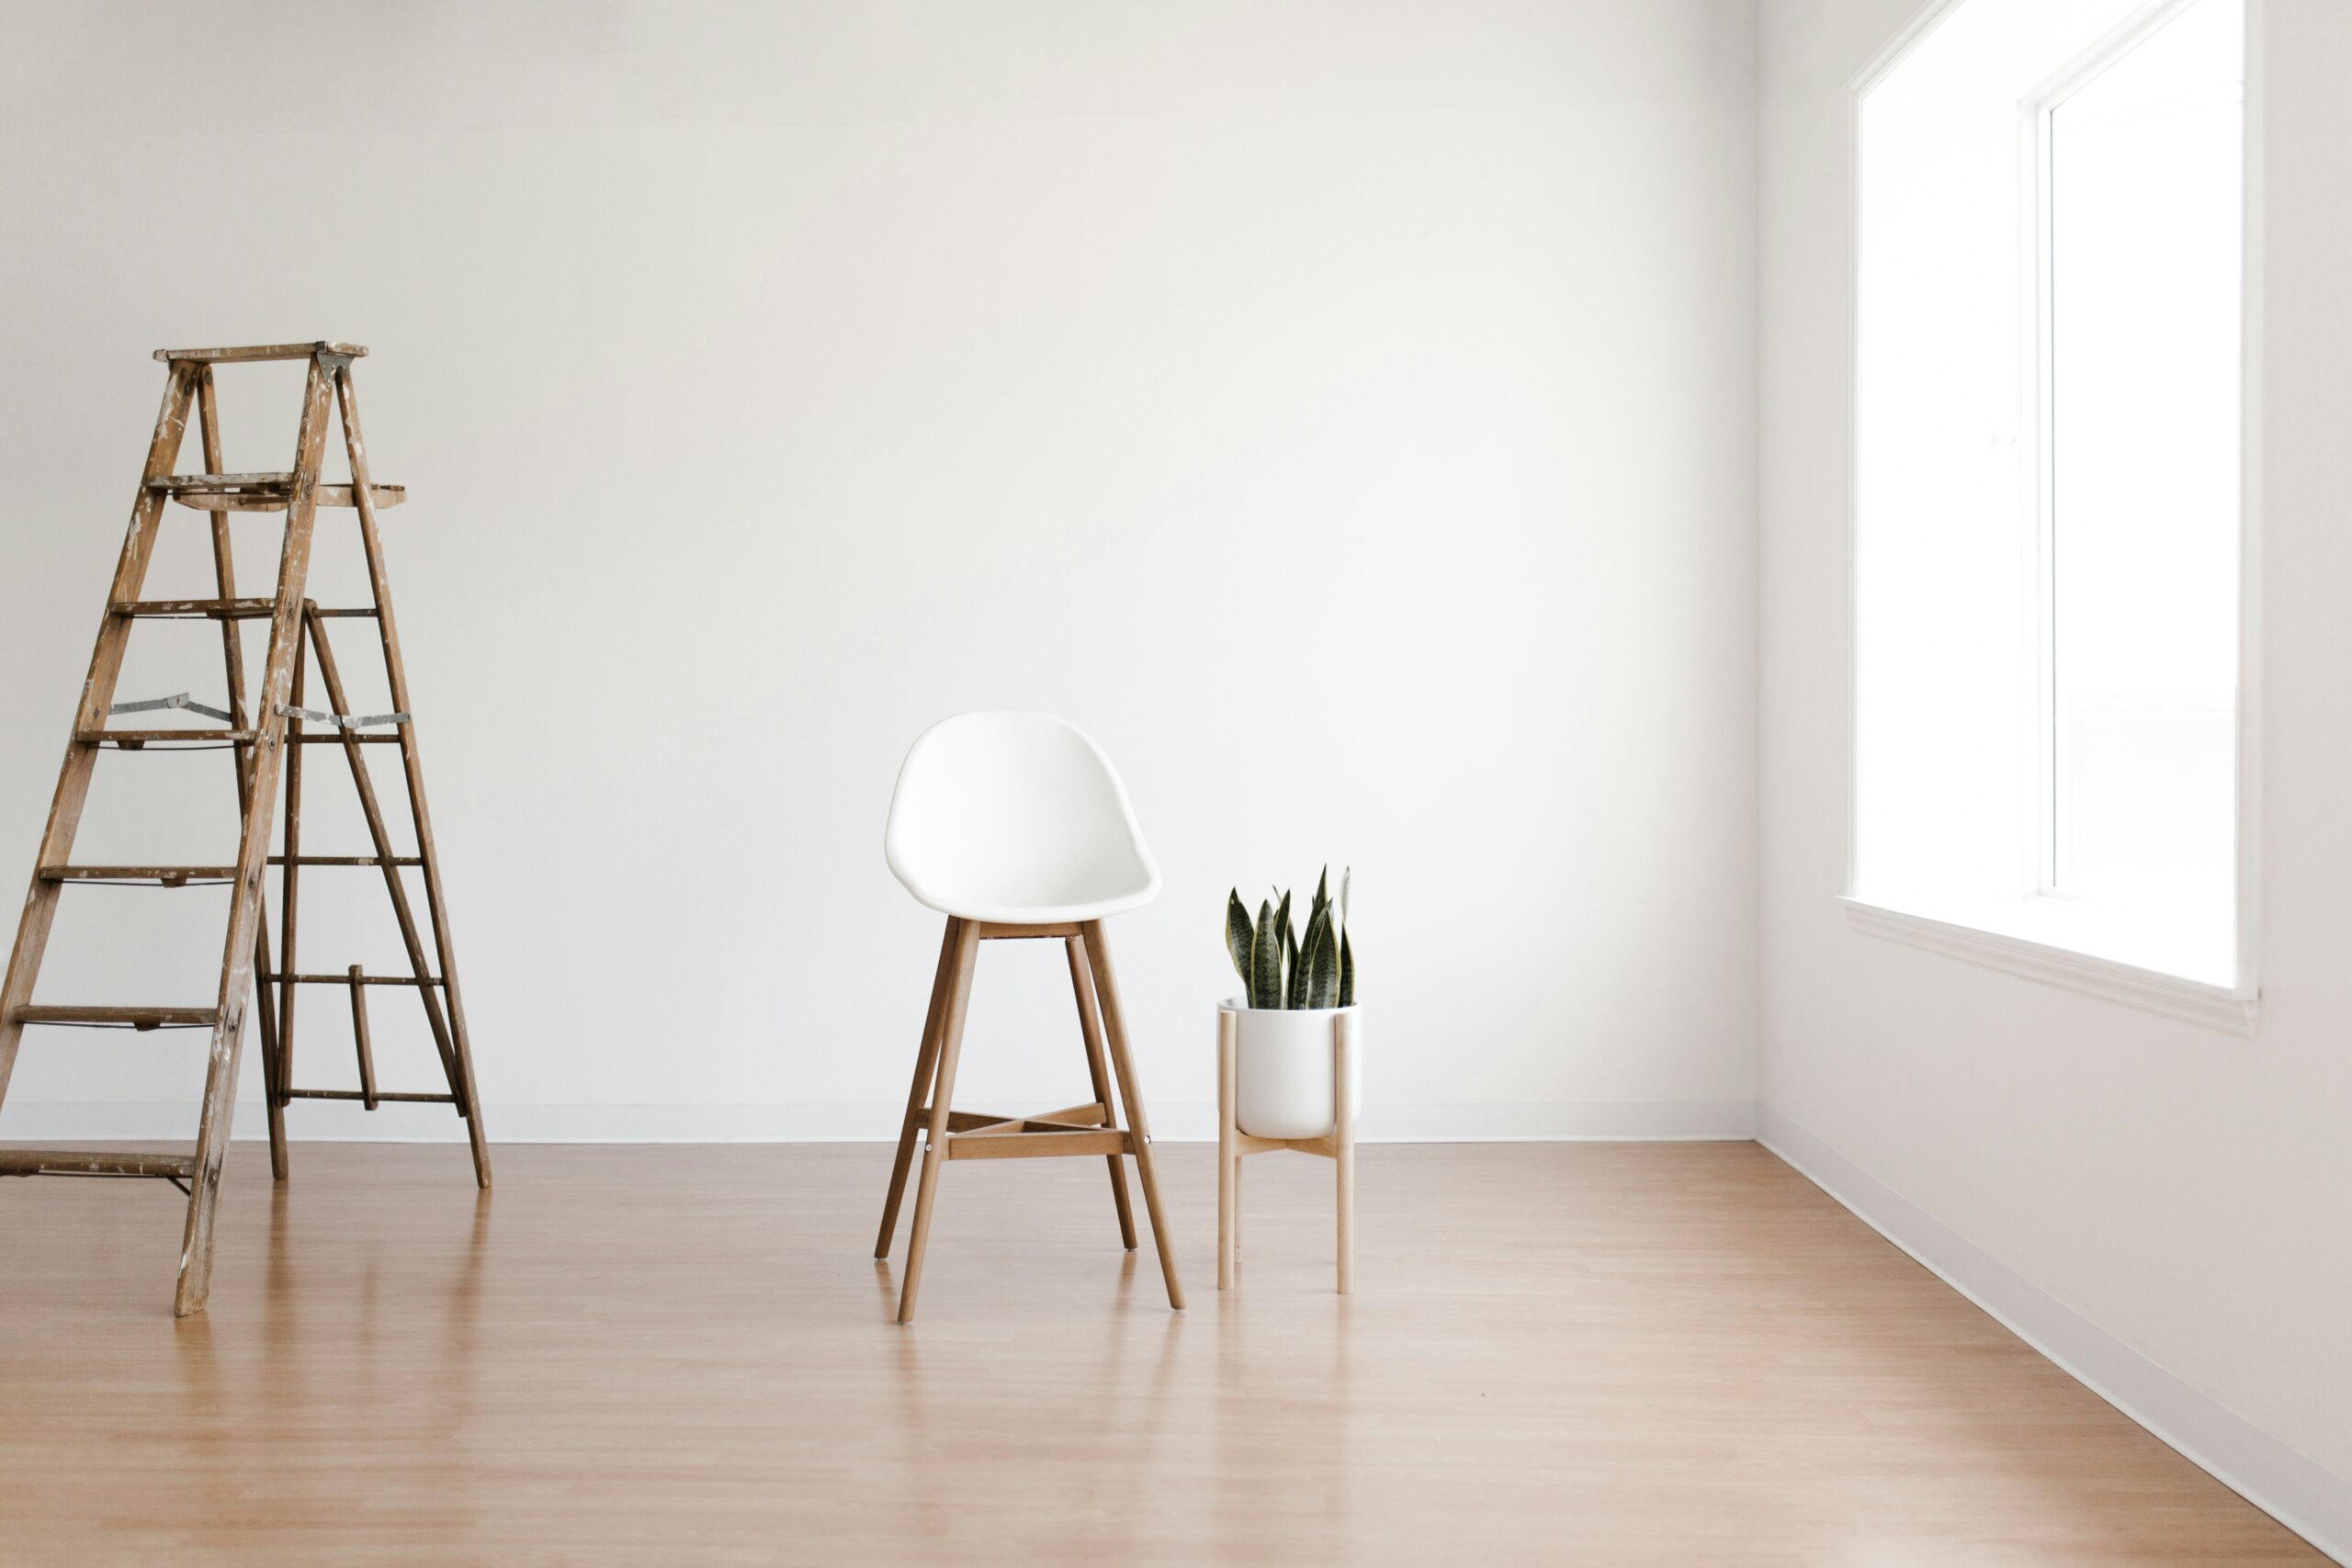
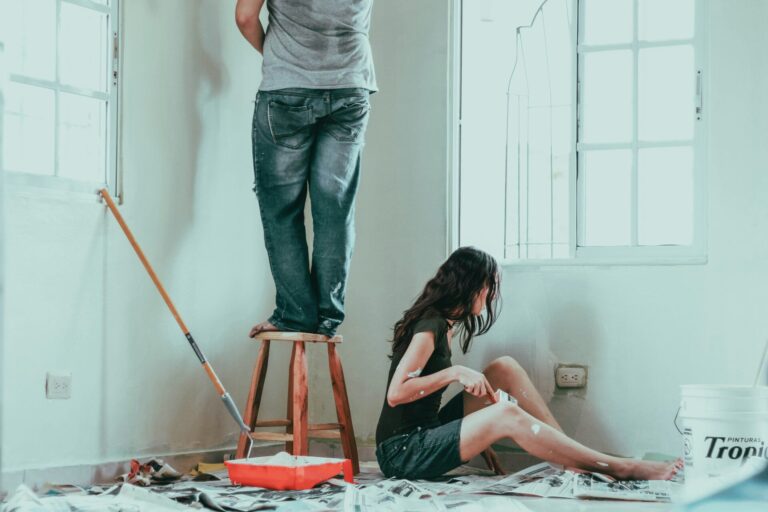
Step 2: Prepping the Room
Preparation is the foundation of a flawless paint job. Rushing this step often leads to uneven finishes and avoidable mistakes.
1. Clear and Protect the Area
•Move all furniture to the center of the room and cover it with drop cloths or plastic sheets.
•Protect your floors using canvas or plastic drop cloths secured with painter’s tape.
2. Prepare Walls and Surfaces
•Remove Hardware: Take down wall decorations, unscrew light switch plates, and remove nails or hooks. Fill holes and cracks with painter’s putty and smooth them out with a putty knife.
•Clean Walls: Use a mixture of warm water and mild detergent to remove dust, grease, and grime. For tougher stains, use a vinegar-water solution.
•Sand the Surface: Sand patched areas and rough spots until the walls are smooth. Use a damp cloth to wipe away dust from sanding.
•Prime Where Needed: If you’re covering a dark color, painting new drywall, or patching holes, apply a primer to ensure even color and texture.
Step 3: Painting the Ceiling
Painting the ceiling first prevents drips or splatters from ruining freshly painted walls.
Steps to a Flawless Ceiling Finish
1.Gather Your Materials: 2½” angled brush, Painter’s tape, 9” roller, sleeve, and tray with tray liner, extension pole, step ladder, stain-blocking primer, your ceiling paint.
Choose high-quality tools and a roller sleeve suited to your ceiling texture for the best results.
2.Prep the Space
Tape off the edges where the walls meet the ceiling. Remove vents with a screwdriver and cover floors and furniture with drop cloths.
3.Prime Stained Areas
For ceilings with stains or patches, apply a stain-blocking primer to ensure a smooth finish.
4.Cut in Edges
Use your angled brush to paint along the ceiling’s edges where it meets the walls. For crisp, clean lines, opt for high-quality painter’s tape like FrogTape. On textured or rough surfaces, consider sealing the tape edges with clear caulk to prevent paint bleed.
5.Roll the Ceiling
Attach your roller to the extension pole, fully saturate it with paint, and roll in straight lines starting near a window. Work across the ceiling, keeping a wet edge to avoid streaks. Let the first coat dry and apply a second coat if needed, rolling in the opposite direction.
6.Finishing Touches
Remove painter’s tape while the paint is still wet, reinstall vents, and clean your tools.
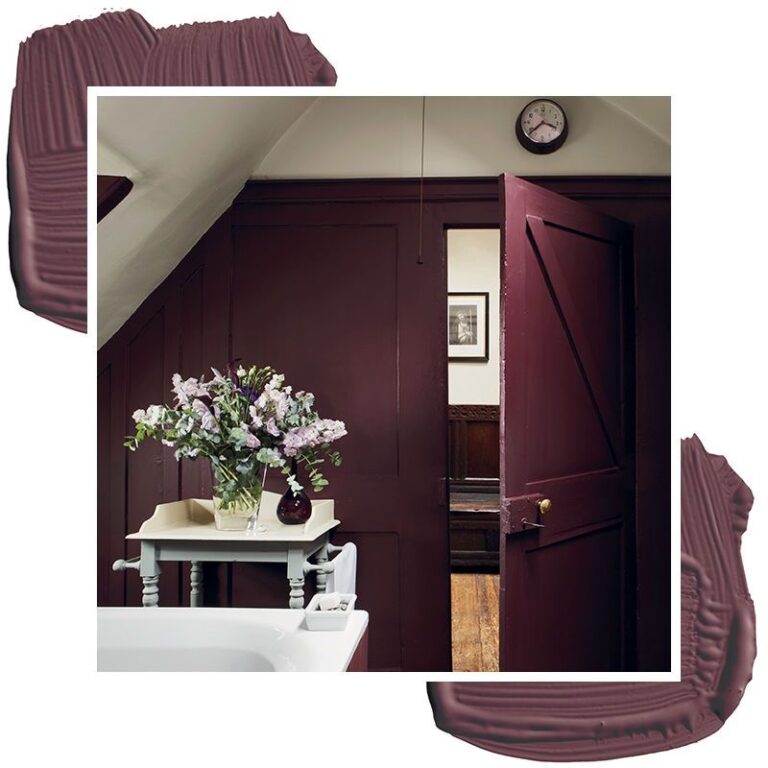
Color Options
Classic white works well, but bold colors like navy or black can add drama. Lighter tones or variations of wall colors create depth without breaking harmony.
Step 4: Painting Trim Like a Pro
Painting trim first allows you to tape it off easily and ensures sharp lines when painting the walls.
Trim Painting Tips
•Prep Thoroughly: Sand trim to remove old paint or gloss, vacuum dust, and wipe with a damp cloth.
•Choose Semi-Gloss or Gloss Paint: These finishes are durable and easier to clean, making them perfect for baseboards, moldings, and window frames.
•Cut In and Roll: Start by cutting in along the edges of the baseboards with an angled brush—then, use a small foam roller to apply paint to the flat surfaces for a smooth, brush-mark-free finish. Clean brushes thoroughly between primer and paint.
–Apply Several Thin Coats: For a durable, flawless finish, apply multiple thin coats instead of thick ones, especially with gloss paints, to avoid drips and brush strokes. Use long, even strokes, starting at the top of the baseboard. Let each coat dry completely before adding the next, following the paint manufacturer’s recommended drying times to prevent a tacky finish.
–Sand Between Coats: Lightly sand each layer of paint for a professional, polished look.
The Three Benefits of Painting Trim Before Walls
1.Cleaner Lines: Painting trim first allows for a precise finish without worrying about getting paint on walls.
2.Easier Touch-Ups: Trim is simpler to fix if paint splashes during wall painting.
3.Better Taping: Fully dried trim is easier and faster to tape, reducing the risk of peeling paint when removing tape.
Step 5: Painting Walls
Painting the walls is often the most satisfying step, as it transforms the room instantly.
Step-by-Step Guide to Painting Walls:
1.Cut In: Use a brush to paint around edges, corners, and trim first. Work in small sections to maintain a wet edge.
2.Roll the Walls:
•Pour paint into a tray and load your roller evenly.
•Roll in a “W” or “M” pattern, then fill in gaps for even coverage.
•Avoid overloading the roller to prevent drips.
3.Apply Additional Coats: Once the first coat dries, apply a second for full coverage and vibrant color.
4.Remove Painter’s Tape: While the paint is still slightly wet, remove tape carefully to avoid peeling.
Fixing Mistakes: Drips and Streaks
Even the best painters run into drips or streaks. If you spot a drip, wipe it immediately with a damp rag. For streaks, use smooth, even strokes with your brush or roller. If you notice an area looks uneven after it dries, give it a light sand before touching it up.
Step 6: Finishing Touches
Inspect and Touch Up
Walk around the room in natural light to spot missed areas or imperfections. Use a fine brush for precision touch-ups.
Clean and Store Tools
•Wash brushes and rollers with warm, soapy water (or mineral spirits for oil-based paints).
•Store leftover paint in airtight containers for future touch-ups.
Ventilate and Enjoy
Open windows to ventilate the room as it dries. After 24 hours, remove dust sheets, return furniture to its place, clean the room lightly to keep it fresh and pristine.
Expert Tips for DIY Painting
1.Invest in Quality: High-quality brushes, rollers, and paint yield better results and save you time.
2.Box Your Paint: Mix all cans of the same color in one large container to ensure consistent color across walls.
3.Keep a Wet Edge: Prevent lap marks by working quickly and overlapping wet areas.
4.Take Your Time: Proper prep and patience are the keys to a professional finish.
Common Painting Mistakes to Avoid
1.Skipping Primer: Primer helps paint adhere, seals against moisture, and prevents peeling and uneven color. Essential for patchwork, color changes, or sheen transitions.
2.Neglecting Wall Prep: Failing to clean, patch, or sand walls results in uneven and unprofessional finishes. Proper prep ensures long-lasting results.
3.Using the Wrong Tools: Low-quality brushes, rollers, or skipping painter’s tape and drop cloths lead to streaks, splatters, and uneven coverage.
4.Skipping Cutting In: Avoid neglecting edges, corners, and trim with a brush before rolling to achieve clean, professional lines.
5.Too Few Coats: Insufficient coats cause patchiness and old colors to show through. Stir paint thoroughly for consistent color and texture.
6.Picture Framing: Cut in and roll within small sections to maintain a wet edge and avoid visible lines between areas.
7.Rushing the Job: Skipping prep, uneven application, or insufficient drying time compromises the finish. Follow drying instructions for best results.
Troubleshooting Common Application Problems
Even the most experienced painters encounter challenges. Here are a few common issues and how to solve them:
1. Streaks or Roller Marks
• This often happens when too much paint is applied. Try rolling in smaller sections and using less paint.
2. Peeling Paint
• If paint peels after drying, it could be due to improper surface prep. Always sand and prime bare or glossy surfaces before painting.
3. Bubbles in the Paint
• Bubbles can form if the paint is applied too thick. Apply in thin coats and allow each layer to dry thoroughly.
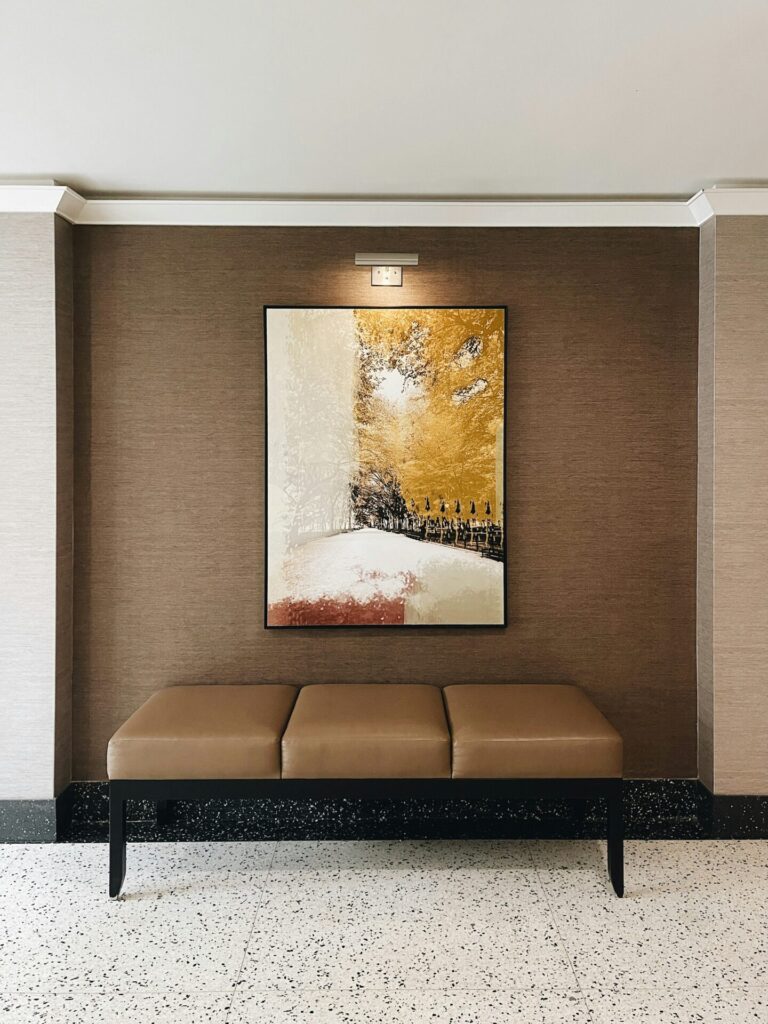
Documenting Your Success
Your hard work deserves recognition! Take before-and-after photos of your space to showcase your transformation. Share your journey on social media or with friends to inspire others to take on their own DIY painting projects.
Wrapping Up
 Painting your home is more than just a home improvement project—it’s a creative and rewarding experience that allows you to personalize your space. By following this detailed DIY home painting guide, you’ll not only achieve professional-quality results but also gain the confidence to tackle more DIY projects in the future. With the right tools, proper preparation, and a little patience, you can turn any room into a masterpiece.
This easy DIY home painting guide provides all the details you need to create a polished, professional-looking paint job from start to finish. Let me know if you’d like specific sections expanded or adjusted further.
Happy Painting!

Wow!! That’s a lot of great information
This is just the beginning—there’s much more to come!