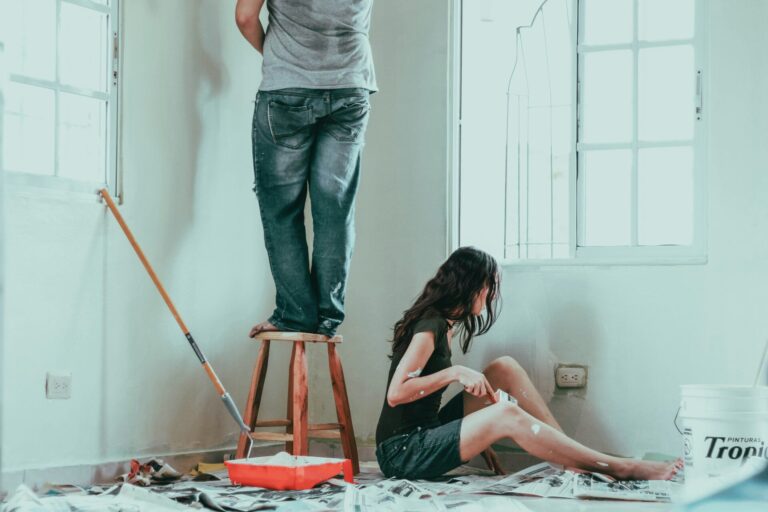
Interior Repainting Assessment And Preparation
Repainting an interior space involves more than just applying a fresh coat of paint. Proper surface assessment and preparation are critical to ensuring long-lasting and high-quality results. This guide will walk you through the key steps in evaluating your walls and ceilings before painting, helping you address potential issues and achieve the best possible finish.
This guide will walk you through Interior Repainting Assessment And Preparation.
1. Assessing the Condition of Existing Paint
Before repainting, it’s important to evaluate the current paint condition to determine the necessary surface preparation techniques, including priming.
Common Issues with Interior Paint
Even though interior surfaces are not exposed to harsh weather like exterior walls, they can still develop issues due to factors such as moisture, poor ventilation, or structural problems. Common paint defects include:
Blistering – Often caused by moisture seeping into walls.
Peeling or Cracking – May indicate poor adhesion, water damage, or excessive paint buildup.
Mildew – Common in areas with high humidity and poor air circulation.
Efflorescence (White Powdery Residue) – Occurs when water carries soluble salts to the surface.
Staining or Discolouration – Can result from smoke, grease, or water leaks.
If these problems exist, they must be properly addressed before applying new paint. Otherwise, the new coating will likely fail prematurely.
2. Understanding Surface Conditions & Preparation Levels
The next step is to determine the Degree of Surface Degradation (DSD), which categorizes how much damage or deterioration exists.
DSD Levels Explained
| DSD Level | Condition of Surface | Recommended Action |
| DSD-0 | Surface is sound with minor visual defects. | Minimal prep; may only need a color or sheen change. |
| DSD-1 | Slight surface degradation but no exposed substrate. | Minor touch-ups; light sanding or spot priming. |
| DSD-2 | Moderate surface degradation with some loss of film integrity. | Spot priming after moderate prep (sanding, scraping). |
| DSD-3 | Severe degradation with widespread damage. | Extensive prep required, including full priming. |
| DSD-4 | Surface is unsound (e.g., rot, excessive cracking, or structural damage). | Repair or replace before painting. |
Pro Tip: If you’re dealing with DSD-3 or DSD-4, consult a professional before proceeding, as simple repainting may not be enough to fix the underlying issue.
3. Compatibility of Old & New Paints
Understanding the type of existing paint is crucial when selecting a new coating. Different paints adhere differently, and some require special primers to bond properly.
| Previous Coating | New Paint Type | Required Primer |
| Gloss or Semi-Gloss Alkyd | Latex | Latex plastic primer |
| Alkyd (Moderate to Heavy Chalking) | Any | Chalky surface primer |
| Epoxy | Alkyd or Latex | Solvent-based plastic primer |
| Vinyl, Polyurethane, or Polyester | Any | Manufacturer-recommended primer |
| Varnish | Any | Solvent-based plastic primer |
If you’re unsure about adhesion, perform a tape test: Apply a strip of painter’s tape to the surface and pull it off quickly. If paint comes off with it, additional preparation is needed.
4. Surface Preparation Techniques
The extent of preparation depends on the DSD level and previous coating type. Here are the most common methods:
A. Hand Cleaning (Light Prep – RSP-1)
Used for surfaces in relatively good condition. This includes:
Sanding with aluminum oxide or sandpaper.
Scraping loose paint.
Brushing with detergent solutions.
B. Solvent Cleaning (RSP-2)
Removes grease, smoke, tar, or asphalt from surfaces before sanding or priming.
Best for: Oily kitchen walls, smoke-stained areas.
Common solvents: Mineral spirits, lacquer thinner, turpentine.
Caution: Test solvents on a small area first to ensure they won’t damage existing paint.
C. Pressure Washing (Moderate to Heavy Prep)
Used to remove dirt, loose paint, and efflorescence buildup.
| Pressure Level | Best for | PSI Range |
| Low Pressure | Soft wood, delicate masonry | 100-600 PSI |
| Moderate Pressure | Wood siding, bricks | 600-1500 PSI |
| High Pressure | Concrete, firm masonry | 1500-4000 PSI |
| Hydro Blasting | Hard stone, heavy buildup | 4000-10,000 PSI |
Note: Use a wide-angle nozzle and keep the spray at a slight downward angle to avoid water damage, especially on wood.
D. Detergent Cleaning
Trisodium phosphate (TSP) is commonly used to clean walls before painting.
Mix 7 oz (200g) of TSP with 1 gallon (3.79L) of warm water.
Apply with a stiff brush, then rinse with clean water.
Allow the surface to fully dry (moisture content should be below 12%) before painting.
Caution: TSP is corrosive – wear gloves and protective eyewear.
5. Special Considerations for Repainting
A. Using a Transition Coat
When applying a new paint type over an incompatible existing coating, a transition primer is required.
Example: Painting latex over oil-based paint? Sand the surface and apply a bonding primer first.
High-performance coatings (e.g., epoxy): May require a test patch and specialized primer for adhesion.
B. Addressing Safety & Environmental Concerns
Always refer to the Material Safety Data Sheet (MSDS) for safe handling of chemicals and primers.
Avoid excessive dust by using vacuum sanding or wet sanding techniques.
Dispose of solvent-soaked rags properly to prevent fire hazards.
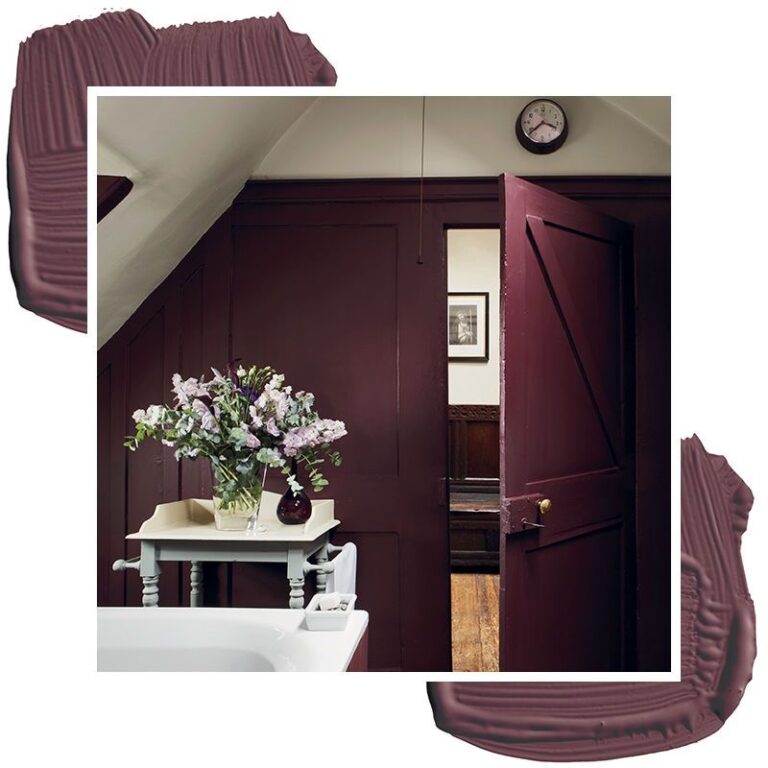
Final Thoughts: Ensuring a Long-Lasting Paint Job
A great interior repaint starts with thorough surface evaluation and preparation. By addressing existing paint issues, choosing compatible products, and following proper cleaning techniques, you’ll achieve a durable and professional finish.
If your walls have moderate to severe damage (DSD-3 or DSD-4), or if you are unsure about the best approach, consider consulting a professional painter to ensure your repainting project is done right.


That’s very useful and well explained